I have been looking for some simple and elegant but frugal decor for my hall table. As always, the best way to get something you want is to DIY. For the table decor, I decided to make some golden mini Christmas trees.
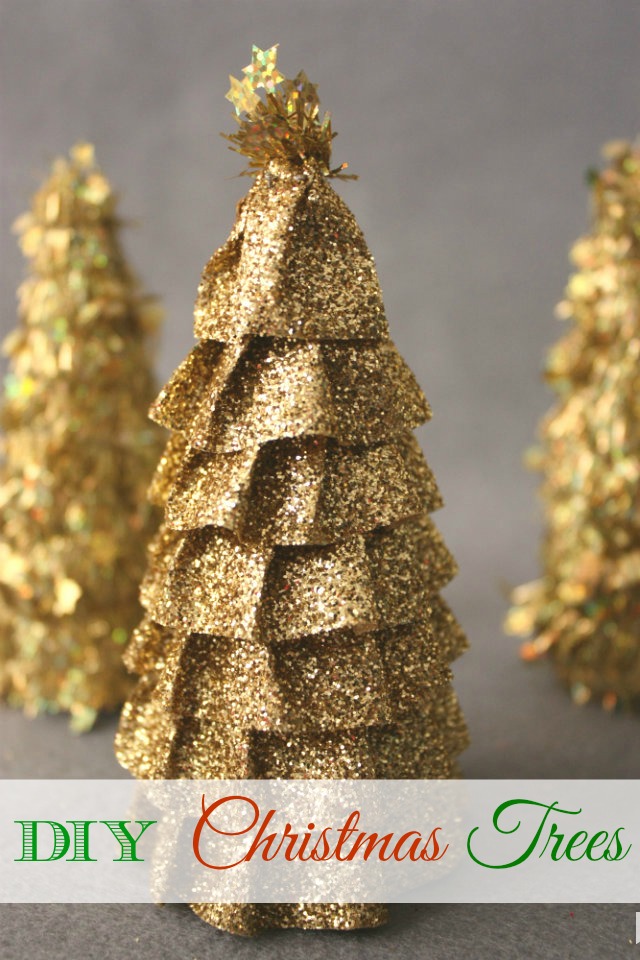
They are really easy to make and give your house some Christmas spirit. Color combinations for these DIY Christmas trees are endless. Just find the ones that go with your overall decor.
In general, the materials you need for the DIY Christmas trees:
-
Cone bases. The cheapest way to have a cone base is to make it yourself. Use cereal boxes (the graphics on the inside of the cone), cardboard or poster boards. The advantage of DIY cone bases is that you can choose the exact size you want. If you prefer to buy them, different cone bases (styrofoam, cardboard, etc.) are available in craft stores.
-
Tinsel. Try to find a tinsel garland that is meant for gift wrapping.
-
Ribbon/fabric. For a ribbon tree use nontransparent ribbon. Ruffled one would be perfect but it’s really easy to ruffle a normal ribbon too. Ribbon could be substituted with fabric strips.
-
Gift wrapping paper. The possibilities here are endless. Choose the color or the design that best suits your decoration.
-
A hot glue gun, sewing pins, double-sided tape. Hot glue gun is perfect for gift wrapping paper and tinsel tree. Sewing pins are great for creating a ruffled ribbon tree. When using pins, it’s possible to un-pin the ribbon if something needs adjusting.
Here are three designs that are decorating my hall table now.
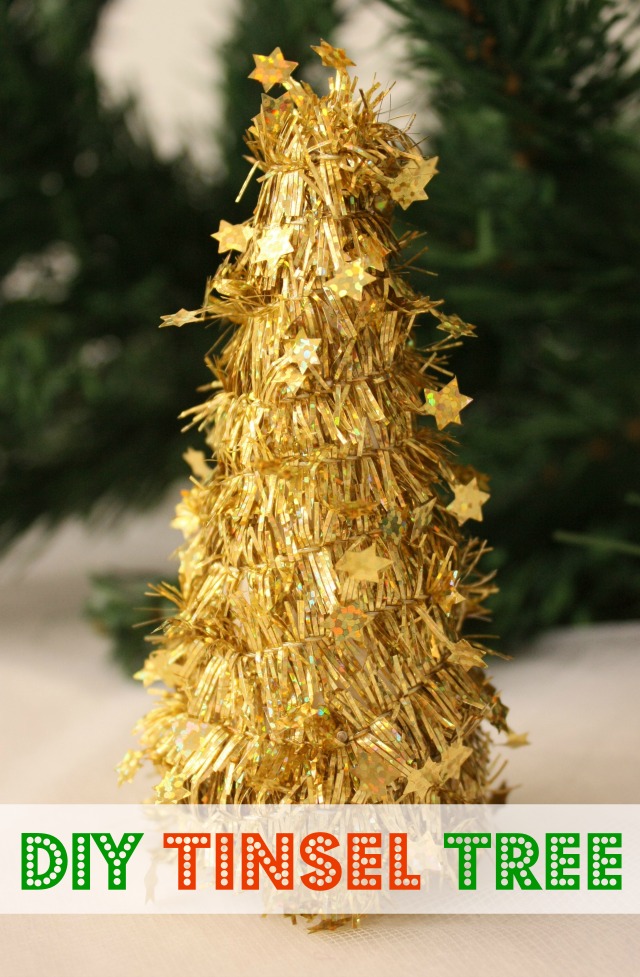
Tinsel Christmas Tree
Materials:
- Cone base. I used styrofoam one.
- Tinsel. Found a festive golden tinsel garland with star shapes in my local craft store.
- A hot glue gun
- Scissors
Instructions:
- If needed, make cones.
- Choose the tinsel you want to use and attach the end of the garland on the bottom of the tree using a dab of hot glue.
- Wrap the tinsel all the way up the cone, using hot glue to secure it. Use just enough glue, to hold the garland in place, no need to use it the entire time.
- When you have reached the top, secure the end of the tinsel carefully to the tip of the cone base. If using paper cones, tuck the end of the garland into the hole of your cone.
- Add any decoration you think it may need. I’m happy with my tinsel DIY Christmas trees as they are.
* You can also use sewing pins with the colorful head instead of hot glue. That way, sewing pins act like little ornaments on your tree. Choose a color that matches your tinsel.
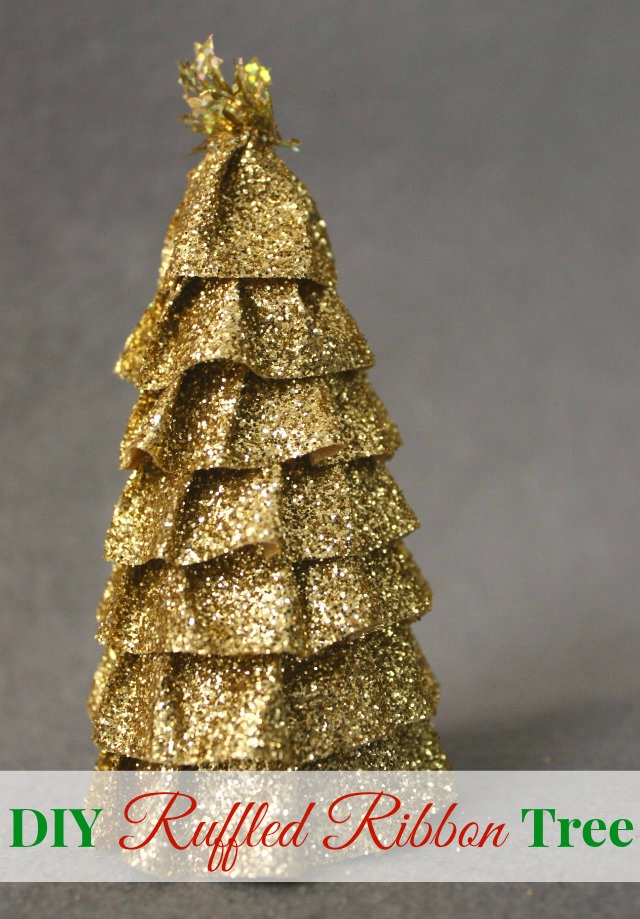
Ruffled Ribbon Christmas Tree
Materials:
- Cone base
- Ribbon/fabric
- Tree topper of your choice
- Sewing pins (or a hot glue gun, if using paper cone base)
- Scissors
Instructions:
- Make a cone base, if needed.
- Using a sewing pin, secure the end of the ribbon on the bottom of the cone base.Now start creating ruffles! You can use a sewing machine or needle and thread to ruffle your ribbon. I formed my ruffles by folding the ribbon over the ribbon that was already secured and backtracked to form a pleat and then secured it with a sewing pin. Work your way up!
- Attach your tree topper on the tip of the Christmas tree.
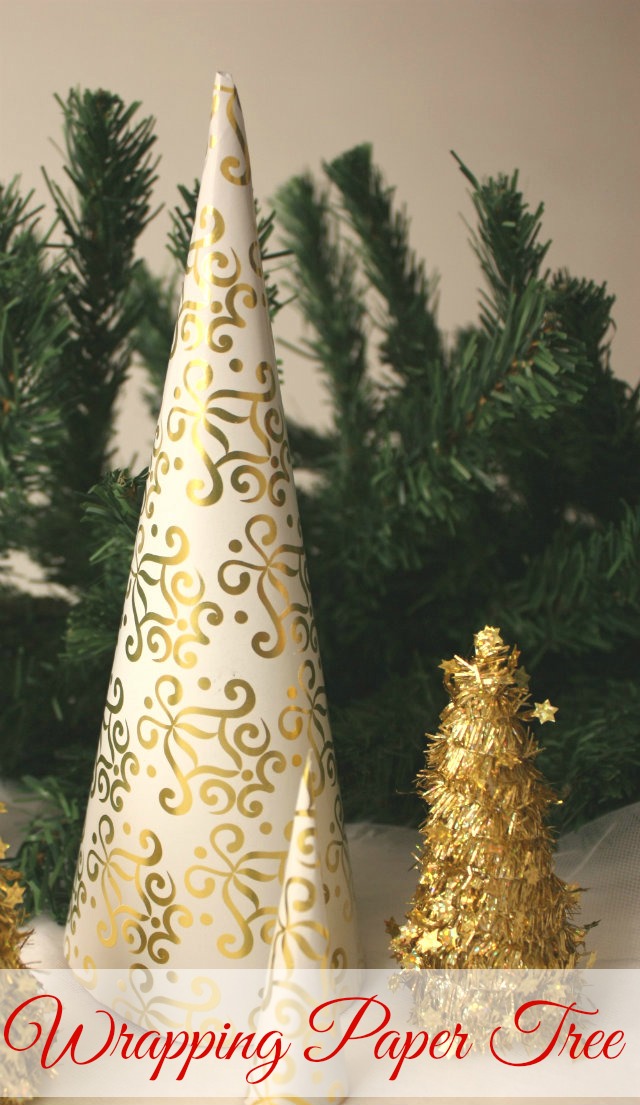
Gift Wrapping Paper Christmas Tree
Materials:
- Cone base
- Gift wrapping paper of your choice
- Double sided tape/glue
- Scissors
Instructions:
- Make a cone base. This time I used a cardboard to make a paper cone. I used a party hat as a template. Secure the edges of the cone with double-sided tape or glue.
- Wrap the cone with your favorite gift wrapping paper. The one I used is from IKEA.
- Secure the loose edges of the wrapping paper with double-sided tape or glue.
- If there is any excess wrapping paper on the bottom of the base, you can cut it or fold it underneath your tree.




I love the ruffled ribbon tree!
So creative! Ave you always astound me with your simple, but beautiful crafts.
So creative! Ave you always astound me with your simple, but beautiful crafts.
those are beautiful!! love the ruffles
These are so cute. I love the ruffle Christmas tree especially.
These turned out beautiful and look easy to make too!
Very crafty idea! Love it!
Those are so cute and you make them look so easy. Might be a great craft to do with Little Man!
Those are awesome DIY Christmas trees! I love the ruffle one!
Aww these are super cute ideas.
Omgosh I love them all together. What a pretty display that would be!
Love these ideas… super cute and they would fit in any decor style..Love the wrapping paper tree..soo cool
These are some very elegant DIY Christmas trees. I think they would look great on a fancy Christmas Eve tablescape. I will have to give them a try.
These are so fabulous and I especially love the tinsel tree. I have lots of it around here and this would be a perfect way to use it!
These trees are all gorgeous. Great job creating them.
I absolutely love all three of these ideas. I am a big fan of glittery things, these are just too splendid! Thanks for sharing!
how cute is that! Love the one with the mini stars on it!
These trees are cute little trees that would make nice centerpieces for a festive meal.
That ruffled tree is amazing. I had no idea that it was made out of ruffle at all! Very pretty!
I think that I could maybe even handle making these!
This is a very gorgeous and frugal Christmas DIY
Ha that tinsel tree just made it onto my to do list for decorations. Nice one.
I am not sure which one I love the best. I think the gift wrapping one may be my favorite!
These are so cute! Love the paper one
Absolutely adorable!!!! I love the Ruffled ribbon one! So cute! Pinning and featuring it on my weekly round up today!!!