Winter weather is creating a lot of news lately, but as fast as time is going by, spring will be here before you know it! Spring is known for the blossoming of flowers, and the re-emergence of butterflies and bees… but do you know what else spring is known for?
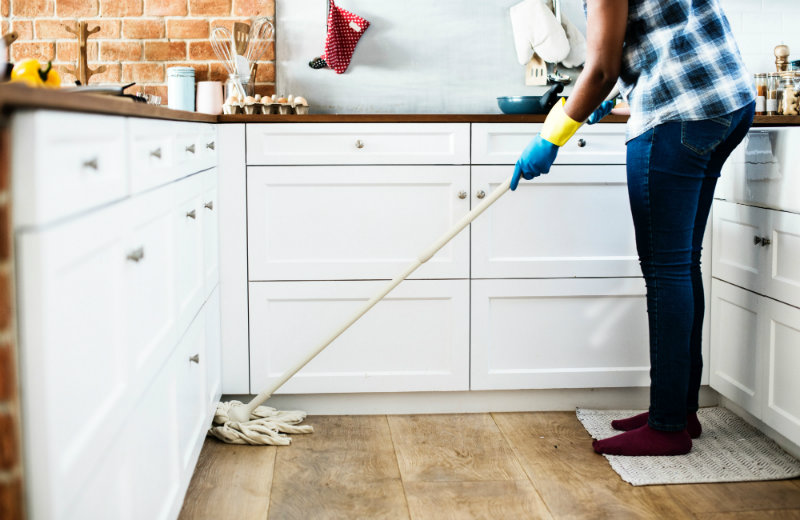
Spring cleaning of course! But why does it have to be done in the spring? Why can’t it be done during another season?
Well, the truth is, you can “spring clean” whenever you want. Spring cleaning doesn’t have to be done during the spring, nor does it have to be done all at once. The fact that people choose to do their spring cleaning all at once is what makes it so dreadful. Me personally, I like to do my “spring cleaning” early so that when spring arrives, I can actually enjoy it!
From the time the New Year arrives, I strategically clean specific areas of my home one week at a time, leading up to spring. This allows you to take your time and thoroughly execute all areas of spring cleaning.
The first thing you want to do is plan your weeks out according to what you want to focus on. It helps if you write it down. Write down the area of focus for that week, and then write down the cleaning goals you want to accomplish. According to cleaning services NJ, it’s important to create individualized action plans to guarantee that your cleaning project goes smoothly.
The areas you want to tackle are completely up to you and based on what your home needs. This week-by-week spring cleaning guide is to help point you in the right direction to hopefully make spring cleaning not be so miserable for you this year. So if spring cleaning is your enemy, don’t wave your white flag yet. You can win this battle. Take advantage of these pre-spring cleaning tips so that you can actually enjoy spring when it arrives.
Week 1: Closets
After New Year’s, I put on my spring cleaning game face, and tackle my closets. My closets come first because I like to keep my closet organized and the new clothes from Christmas need their space.
I also like to make a list of basic clothing that needs renewing and shop them during the January/February sales. With that being said, it’s closet decluttering time!

Once you’ve established the area you want to clean for week one, then you need to establish the goals you want to accomplish with cleaning your closets. I really recommend you to go all Marie Kondo here! If you haven’t seen her show yet, be sure to check it out on Netflix!
Some of the cleaning goals to have for your closets should include:
- Remove everything from the closet to go through.
- Get rid of clothes and shoes you can no longer fit, or that you haven’t worn in a while that is just taking up space.
- Make “keep,” “toss,” and “donate” piles.
- Put away new clothes from the holidays.
- Wipe down any shelves within the closet.
- Get rid of any trash (old receipts, insides of shoe boxes).
Remember, this is not something that has to be done in one day. You can stretch this out over a whole week, which is especially helpful with kid closets, and if you need to do this process to multiple closets in your home. Once everything is decluttered by the end of the week, it is left up to you to maintain the cleanliness of your closet.
Week 2: Bedding and Mattress
With your bedding, this is when you want to clean, sanitize, and disinfect any and everything that has to do with your bed. From the mattress down to the pillowcases, make sure everything is clean. According to consumerreports.org, a third of our lives are spent on our mattress, and that’s a nice chunk of time well-spent, but all the more reason to clean it.

The biggie here is the mattress. Properly cleaning your mattress can be a lengthy process, but it’s easier to lay out the steps!
- Remove all bedding from the mattress and wash.
- Vacuum your mattress with the upholstery attachment from vacuum cleaner in case of any crumbs or debris.
- Spot clean any stains that may be on the mattress with a stain removal cleaner.
- Sprinkle baking soda all over your mattress to deodorize your mattress (this is the time-consuming part). Leave the baking soda on your mattress for 24 hours. You’ll need to find alternative sleeping arrangements during this process to ensure the baking soda has taken full effect on your mattress.
- After the baking soda has set for 24 hours, go back over your mattress with the upholstery attachment on your vacuum to remove the baking soda.
Now that your mattress is clean, you can put bedding back onto your bed. In honor of the new year, I always like to treat myself to new bedding essentials to give my room a new look for the new year!
Week 3: Upholstery
Give your home a fresh facelift when you clean your upholstery. Cleaning upholstery sounds pretty daunting, but it’s really not that bad when you have the right tools to do so! Steam cleaners are a great way to clean upholstery. Steam cleaners work on a multitude of different surfaces, and upholstery is one of them!

There are multiple ways to clean upholstery. You, of course, have various upholstery cleaners, but then you also have DIY methods to clean your different upholstery types as well.
Fabric Upholstery– In a spray bottle, combine ¼ cup of vinegar, ¾ cup of water, and 1 tablespoon of dish soap. Put contents in a spray bottle and spray stained area. Scrub with a soft cloth until stain is removed. Lastly, rub solution off with a damp, clean cloth and let dry.
Leather Upholstery – In a spray bottle, combine ¼ cup of vinegar and ½ cup of olive oil. Spray the solution on the furniture piece and buff it out with a soft cloth.
Be sure to check out our guide to cleaning your couch!
Keep adding weeks and spaces to the weekly list! There are still 5 weeks before spring and I’m sure you’ll be done with all your spring cleaning before the season actually arrives?
How do you tackle your spring cleaning?