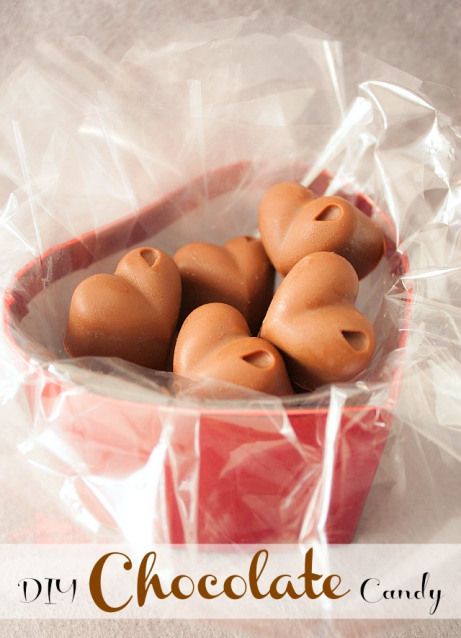
Valentine’s Day is quickly approaching and it’s the perfect time to start thinking about those presents you want to give to your loved ones.
I have decided to make all the presents myself this year! Some cute cards and sweets are a perfect DIY project for this Valentine’s Day. Most of my friends love sweets and are big chocolate fans, so they will get some chocolate candies this year!

My friends have different tastes when it comes to chocolate. My husband loves dark one, one of my friends prefers dark chocolate with orange, another with raspberries and some friends only eat milk or white chocolate.
The best thing about these treats is that there is an array of fillings you can try to play with. You can create a special flavor for every friend.

First of all, choose the flavors you would like to use. I’ll give you the orange ganache filling recipe, but there are endless options for the filling. You can use mint, raspberries, caramel, or coconut to make these delicious chocolates.
Orange Chocolate Ganache Filling
Ingredients
- 105 g (3 ½ ounces) semi-sweet chocolate
- 1 orange
- 115 g (½ cup) heavy cream
- 2 tbsp unsalted butter
Instructions
- chop the chocolate and place it in a medium bowl, set aside
- grate the orange
- mix orange zest with heavy cream in a small saucepan and bring to a simmer
- remove the cream from the heat and cover. Let it sit for ½ hour to infuse.
- bring the cream mixture to simmer again, pour the hot cream through a strainer over the chocolate, and let it sit a minute
- whisk the cream and chocolate together until smooth, add butter, and stir until melted
- let the mixture cool, once cooled, refrigerate the mixture for 30-45 minutes
Assembling the candies
To make candies, you need a candy mold. Choose the shapes you like the most. Remember that the molds have to be clean and dry!
Candy shells
*Makes around 15 candies depending on the size of the mold.
Ingredients
-
150 g (5 ounces) chocolate of your choice
Instructions
-
chop the chocolate and melt it
You may need to temper the chocolate so that it doesn’t have that grayish look after it sets. I usually melt the chocolate using my induction stove and a special program for melting chocolate or butter. So far the chocolate has never turned gray.
- cover the sides and bottom of the mold with melted chocolate
- refrigerate for shells to harden
- remove from the refrigerator and pipe the filling into the candy shell (about 80% full)
- pipe chocolate over the tops of each candy to seal them
- refrigerate for the tops to harden
- release the candies from the mold
- store your DIY chocolate candies in a dry, cool place
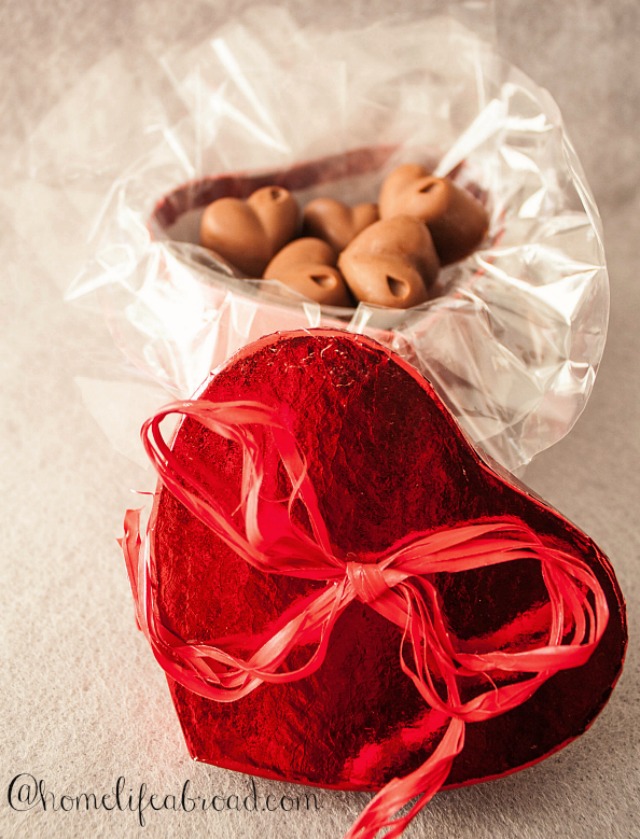
Now you just have to find or make a cute bag or a box, pack your candies and surprise your loved ones.


