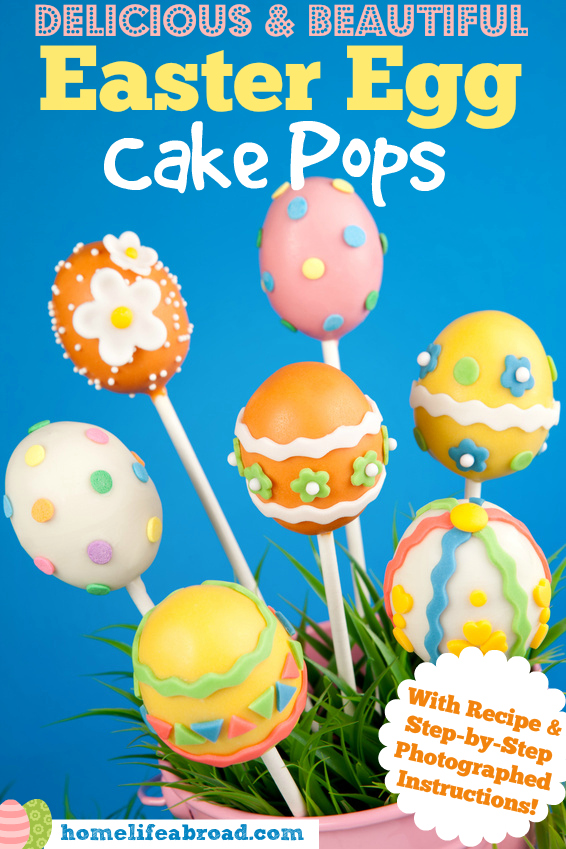
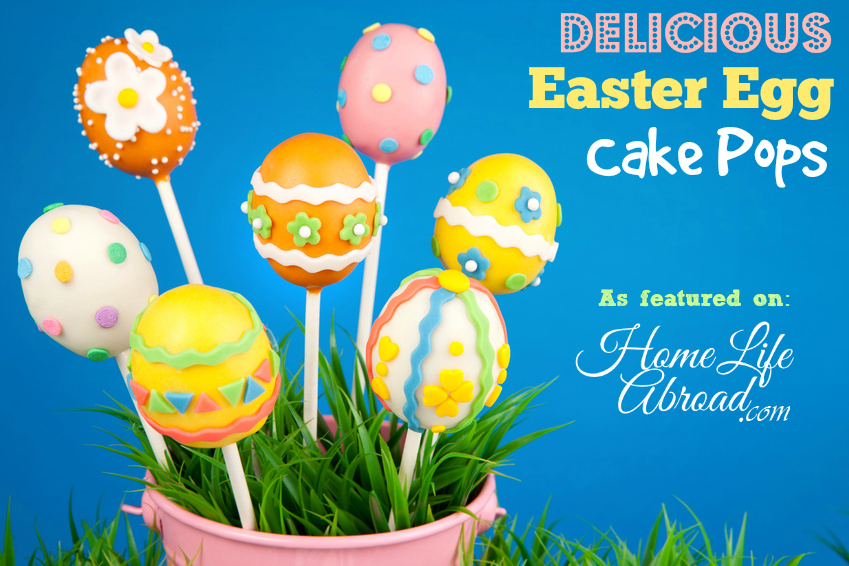
There’s no better way to celebrate a holiday than creating fun cake pops. While our creepy, crawly spider cake pops were a big hit, it’s time to welcome Easter with our deliciously beautiful Easter egg cake pops. The best part? Biting into these yummy desserts.
I know creating cake pops can look intimidating to the beginner, but once you get the hang of it, you’ll be hooked. This time around, I’m showing you how to make that cake pop step-by-step, so you can easily follow through and make great looking cake pops!
![]()
What You Need (yields 20 cake pops)
[row]
[column size=”1/2″]
For the cake:
- 1 cup sugar
- 1 cup flour
- ½ cup cocoa powder
- ¾ tsp baking powder
- ¾ tsp baking soda
- ¼ tsp kosher salt
- 1 large eggs
- ½ cup whole milk
- ¼ cup vegetable oil
- ½ cup boiling water
- ¼ cup prepared frosting
OR buy one of those handy ready-to-bake cake mixes
[/column]
[column size=”1/2″]
For the cake pops:
- 20 cake pop sticks
- ½lb colored candy melts or melted chocolate
- All kinds of pastel-colored sprinkles of your choice
- Ready made fondant if you want personalized shapes
[/column]
[/row]
Instructions for the chocolate cake:
- Preheat your oven to 350°F (176°C).
- Coat a baking pan with non-stick cooking spray.
- In the bowl of a mixer, add the sugar, flour, cocoa powder, baking powder, baking soda and salt. Mix on low speed for 30 seconds.
- Add eggs, milk, and oil, and continue beating at medium speed for about 2 minutes.
- Using a spatula, fold in boiling water and pour batter into your pan.
- Bake for 30 minutes or until baked through.
- Remove from the oven, let cool for several hours.
![]()
Let’s Make Our Easter Egg Cake Pops!
[row]
[column size=”1/3″] 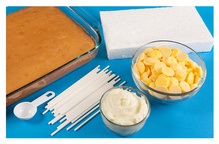 [/column]
[column size=”2/3″]
Step 1: Preparation
Prepare the ingredients for your cake pop: the ready-baked & cooled cake, sticks, a scooper, frosting, styrofoam, and colored candy melts.
[/column]
[/row]
[row]
[column size=”1/3″]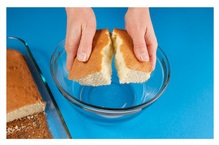 [/column]
[column size=”2/3″]
Step 2: Crumble Time
Break the cake into big pieces that you can easily rub together. Over a bowl, rub them together until the entire cake is broken into small crumbs.
[/column]
[/row]
[row]
[column size=”1/3″]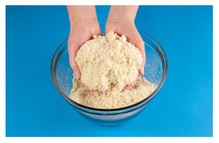
[/column]
[column size=”2/3″]
Step 3: Break Down Big Crumbs
If any big chunks or crumbs are in the bowl, break them into smaller crumbs. You should end up with a bowl with small crumbles, like in the picture.
[/column]
[/row]
[row]
[column size=”1/3″]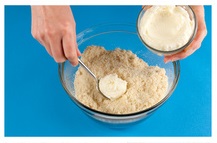
[/column]
[column size=”2/3″]
Step 4: Add Frosting
Add 1/4 cup of frosting of your choice of flavor.
[/column]
[/row]
[row]
[column size=”1/3″]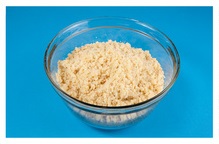
[/column]
[column size=”2/3″]
Step 5: Mix Frosting
Mix the frosting with the crumbles until the cake is moist and can hold shapes.
[/column]
[/row]
[row]
[column size=”1/3″]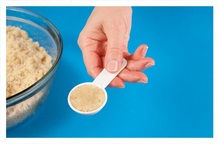
[/column]
[column size=”2/3″]
Step 6: Scoop Up the Mixture
Using a scooper, scoop up the desired amount of mixture. Alternatively, you can use your own hands, but take into account that every cake pop will be a different size that way.
[/column]
[/row]
[row]
[column size=”1/3″]
[/column]
[column size=”2/3″]
Step 7: Roll the Mixture
Roll the mixture either into balls or oval egg shapes, depending on how you want your cake pops shaped.
[/column]
[/row]
[row]
[column size=”1/3″]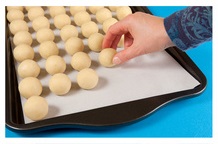
[/column]
[column size=”2/3″]
Step 8: Place on Baking Sheet & Fridge
Transfer the balls to a wax paper covered baking sheet. Place in the freezer for 15 minutes – no longer! Then place into the refrigerator and let them stay chilled there for about an hour to an hour and a half.
[/column]
[/row]
[row]
[column size=”1/3″]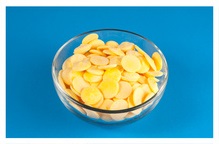
[/column]
[column size=”2/3″]
Step 9: Prepare the Candy Melts
Melt some candy melts or chocolate of your flavor and color preference. Microwaves do a great melting job!
[/column]
[/row]
[row]
[column size=”1/3″]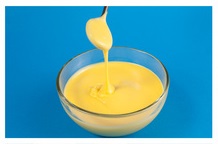
[/column]
[column size=”2/3″]
Step 10: Mix Melted Candy Melts
Once melted, the consistency should be a thick liquid. Mix with a spoon to ensure everything is melted and ready for dipping.
[/column]
[/row]
[row]
[column size=”1/3″]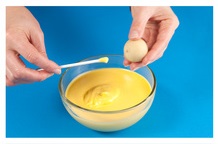
[/column]
[column size=”2/3″]
Step 11: Prep the Cake Pop Stick
Grab a cake pop stick, dip one side of it in the melted chocolate.
[/column]
[/row]
[row]
[column size=”1/3″]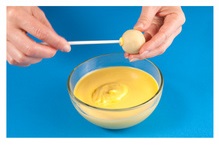
[/column]
[column size=”2/3″]
Step 12: Place the Stick in Cake Pop
Carefully insert the stick into the cake pop, making sure you placed it deep enough so that it feels secure but not too deep that it will be an unwelcoming surprise in the first bite.[/column]
[/row]
[row]
[column size=”1/3″]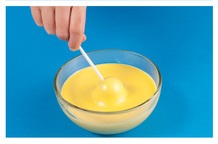
[/column]
[column size=”2/3″]
Step 13: Dip the Cake Pop
Carefully dip each cake pop in the melted candy melts to cover it completely. Make sure the candy touches the stick. When it dries, it will be more stable.
[/column]
[/row]
[row]
[column size=”1/3″]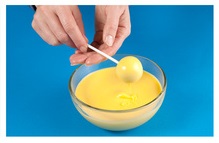
[/column]
[column size=”2/3″]
Step 14: Dip the Cake Pop
Gently spin the cake pop and tap off the excess candy melt.
[/column]
[/row]
[row]
[column size=”1/3″]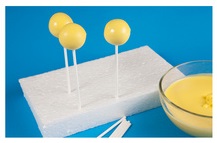
[/column]
[column size=”2/3″]
Step 15: Place on Styrofoam
Place the candy pop on Styrofoam so it dries.
[/column]
[/row]
[row]
[column size=”1/3″]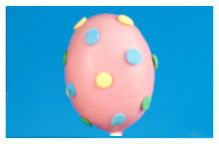
[/column]
[column size=”2/3″]
Step 16: Decorate!
Once the cake pop is dry, place your decorations. You can use sparkling sugars or sprinkles, rainbow candy coated chips, small daisy sprinkles, sugar dough or anything else you can think of!
To glue the decoration pieces to the cake pop, use a toothpick. Dip into the melted candy coating, dab a dot of the coating on the sprinkle and attach to the pop.
[/column]
[/row]
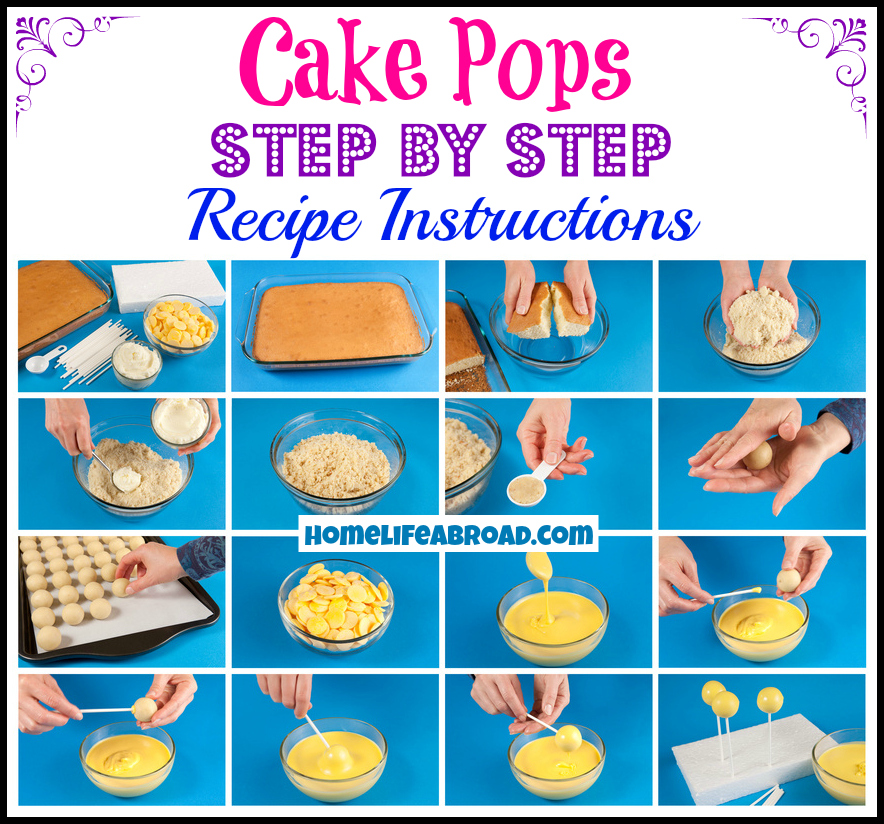
Here are the instructions in one handy image for easy downloading. 🙂
I would love to hear your thoughts on this Easter holiday’s cake pops!


Those are so colorful and festive! My kids would love these.
Okay now… those are seriously cute!! Better yet, they look easy enough for me to make. http://www.myjourneywithcandida.com/
Those turned out really cute! I bet my kids would love these.
Sometimes I feel bad eating them… So much hard work gone in one quick bite. 🙂
Those are detailed instructions. I always wondered how cake pops were made. These look amazing and festive.
I am IN LOVE with your step by step instructions. I now know the perfect way to ice a cake pop! Total news to me!
Glad you liked them! 😀 They are easier to make than it looks, and these eggs in particular are as well since anything goes with the decoration.
Those are so pretty! They ended up perfect. I’d love to make some of my own.
These are so cute and I love how easy you made the instructions. Cake pops are so versatile.
WOW! I am seriously impressed! What detailed instructions and BEAUTIFUL egg pops. You’ve outdone yourself! Bravo!
Wow this is great! Your cake pop eggs turned out amazing they look so good! I haven’t ever made these before would love to!
How cut. This is such a fun idea A bit time consuming but adorable.
I can’t get over how perfect these turned out. Thanks for the great tutorial. You make it look doable.
Wow, this looks so amazing. Love the instructions too.
These cake pops look delicious. I love the festive Easter decorations on them.
These Easter egg cake pops look so beautiful, I would love to eat them all!
I love cake pops, and those are the cutest things ever!
Those egg pops turned out so pretty! I love how festive it is!
What a cute idea! cake pops look like fun to eat
These are really really cute. I love how they came out.
These look so cute. I will have to try making these with my kids this weekend. I hope mine turn out as great as yours.
Those are cute. Your article made them look easy. I know that I’d goof the up, but they’d be fun to do anyway. 🙂
Those turned out amazing. I love your tutorial: makes it easy for me to make
How cute are these!? They look easy enough and perfect for Easter!
These are adorable. Great tutorial too – love them!
Oh these are so cute, what a lovely Easter treat 🙂
Those are so cute! I’ve never made cake pops before, but with such detailed instructions, I almost can’t screw them up! LOL
These are super cute! I love cake pops and these are perfect for Easter!
These Egg Cake Pops looks pretty cute & definitely a great way to celebrate the Easter. I love how you have explained the recipe with those pictures as well in detail. Would love to try this with my kids.
These look so fun! My daughter loves making fun foods and she’ll love doing this! Thanks for the idea!
I am getting better at these. I have made them many times over for bake sales. But mine don’t look like that!! I love your pretty pictures and you are making me even hungrier!!
Love making cake pops – this is a great step by step guide