Looking for that attractive “Pin it” hover effect from top sites and bloggers? You can have it too! It’s actually a lot easier to set-up on your WordPress blog than you would expect.
Pin me!
And, it’s fully worth it. Pinterest can bring a LOT of readers to your blog. Here at HLA, it’s actually our top source of traffic. That’s why it’s important to do everything possible to get your readers to pin your blog posts to Pinterest. You need to make it as easy and attractive as possible.
That’s where the customized “Pin it” button comes in. A quick hover over the image and your reader is invited to pin the post and image with one easy click. Take a look at how it works by hovering over the image above (and why not Pin it while you’re at it!). Below is an example of what our current “Pin it” button looks like.
 This is our “Pin it” button!
If you need help with this feature, you’re in luck! I’ll show you step by step how to set-up your customized image. And as a bonus, you can download any of my free “Pin it” button images for your site! 😀
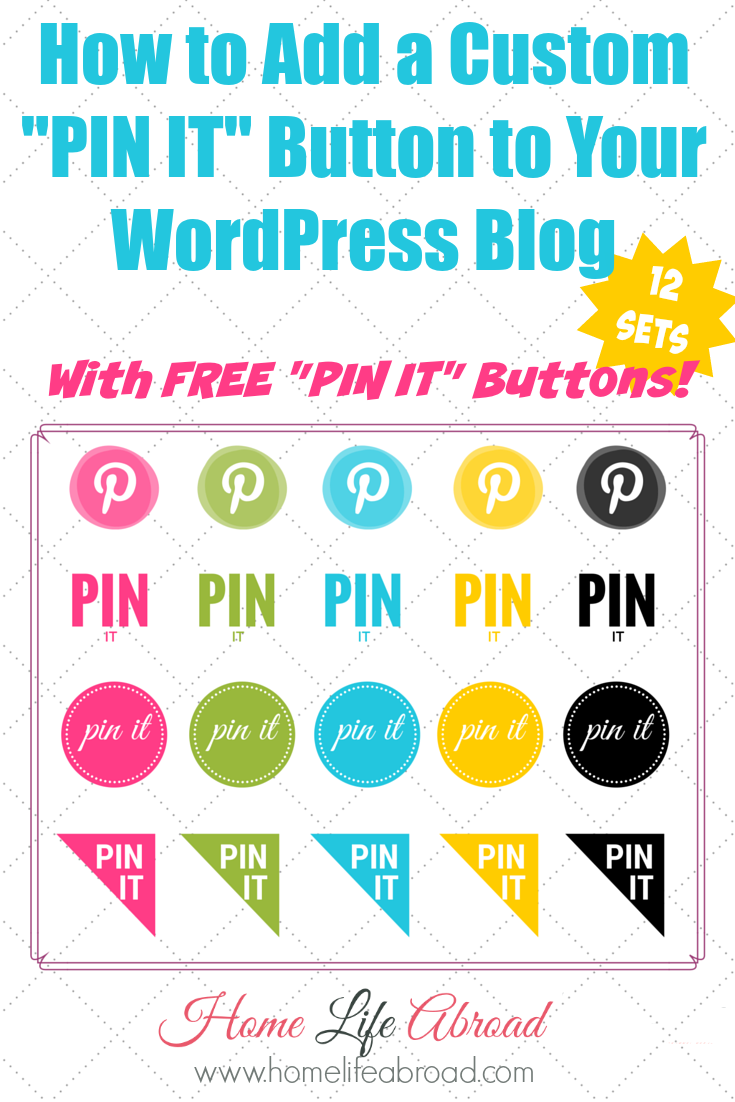
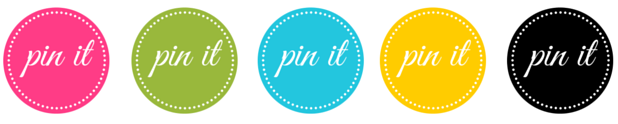
FREE “Pin It” Button Images
If you like any of these, feel free to download the zip files linked underneath and use them on your site.


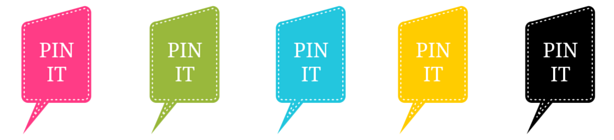
 Download Large Size
Download Small Size


Conditions of use
The images were created by me and are not meant for sale or download by any other websites. They are for personal use only. Do not use them commercially. If you want to re-post or re-use them in any way for your site or blog, please credit my blog. I would appreciate a quick email letting me know as well as it would be very flattering. 🙂 A social share would also be appreciated!
![]()
Installation Instructions
These are the instructions to setup the plugin and customized “Pin it” button on self-hosted WordPress sites and blogs. If you’re looking to install on a different platform, you will have to find instructions elsewhere. However, you’re still welcome to use my customized “Pin it” images!
Step 1: Download & Install “jQuery Pin It Button for Images”
[button url=”https://downloads.wordpress.org/plugin/jquery-pin-it-button-for-images.1.38.zip” target=”blank” background=”#FF576B” size=”4″ center=”yes” radius=”round” icon=”icon: arrow-down”]Download Now[/button]
Or head to the plugin’s download page on Wordpress.
Step 2: Pick your customized button
Pick one of the awesome “Pin it” buttons I created and featured above OR make your own. 😀
If you want to create your own button, look into using PicMonkey or Canva.
Step 3: Set-up the “Pin It” image
Find the customization options for “jQuery Pin It Button for Images” under the “Settings” option in WordPress.
Click on the tab “Visual”.
Under “Custom Pin It Button”, check “Use custom image” and then upload your image to the media library. The height and width will update automatically but you can feel free to edit them if you prefer a smaller image.
If you want to verify that the image is how you want it, click on “Refresh preview”
Step 4: Customization Details
You can customize a few more details of the “Pin it” button.
In the “Visual” tab:
-

Click for bigger version
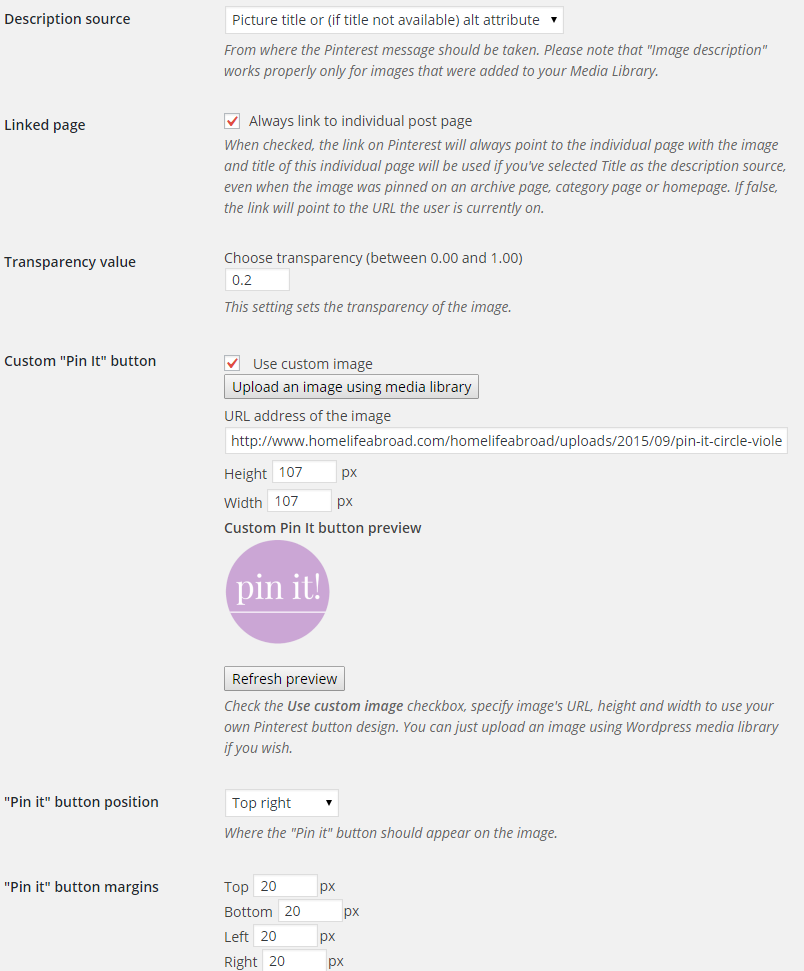
Description source: Select what text will show up each time the “Pin it” button is clicked.
- Linked page: I checkmark this so the pin links to the direct post it came from. You don’t want pinners reaching your site and having to search for your post! Just lead them straight to it.
- Transparency value: You can set a transparency value that places a white foreground on your images when the mouse hovers over them and makes the “Pin it” button more visible. I like to set it to about 0.2, which is a light transparency. The higher the number (between 0.00 to 1.00) the less transparency.
- “Pin it” button position: Place the “Pin it” button wherever you would like it to show on your images. Each option looks great, but base yourself on the button you selected and where it looks best.
- “Pin it” button margins: If you want to further customize the position of the “Pin it” button, you can set extra margin space.
- Here’s a screen grab of the customization details – click to see the bigger version.
In the “Selection” tab:
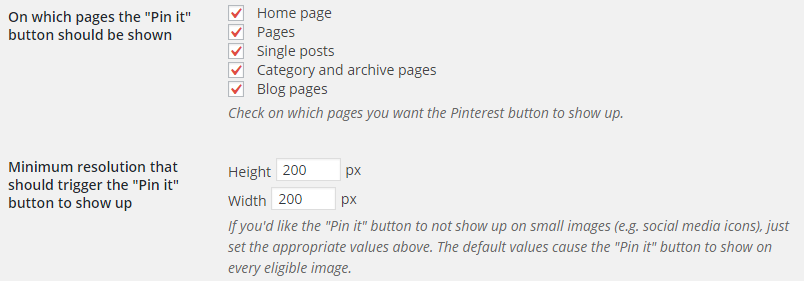
Click for bigger version
- On which pages the “Pin it” button should be shown: Here you can decide where the “Pin it” button will show for images. I have it enabled for every section of the site – I don’t want to miss out on potential pinners!
- Minimum resolution that should trigger the “Pin it” button to show up: I don’t want the “Pin it” button to show on smaller images, such as thumbnails. There’s no use in pinning those since they won’t look good in Pinterest. Use this option to set the minimum image size that should trigger the button. I’ve set it so any image smaller than 200x200px won’t have a “Pin it” button.
Step 5: Test your button!
Head to a post or page on your site and hover over the images. They should now have your customized “Pin it” button. 😀
Tamper with settings until you get the exact result you are looking for.
![]()
[note note_color=”#FFEACC”]Have you used one of our customized “Pin it” buttons or did you follow the directions to create one of your own? We would love to take a look! Let us know below. :)[/note]


I use blogger not word press but this would really be great for all the word press users who are also on Pinterest.
In that case, maybe I’ll make a Blogger tutorial, too. 🙂
I’m not in Pinterest or Instagram Ronnie! I really don’t have the time to post more then I already do–AND I can’t take a picture to save my life!! But I bet there are a lot of Blogger users out there who would love to be able to use something like this–I say go for it!!
You don’t need to post the pins yourself, though. 🙂 Other people would pin your images. Maybe you are missing out on potential pins from readers and people reaching your site through Pinterest. It’s our #1 traffic source as of the moment and it even brings us commissions from posts with affiliate links!
I LOVE this! I am a blogger user myself and I installed a similar thing on my blog and I get tons more pins due to it so I highly recommend this to wordpress users! Plus you all get cute graphics to pick from!
I like those buttons. Nice graphics.
These are such useful tips for bloggers and those who own websites. I always hate the technical aspect of having a website because it can get complicated.
Thank you for the buttons and the tutorial. Big help!
Excellent tutorial!
Very helpful